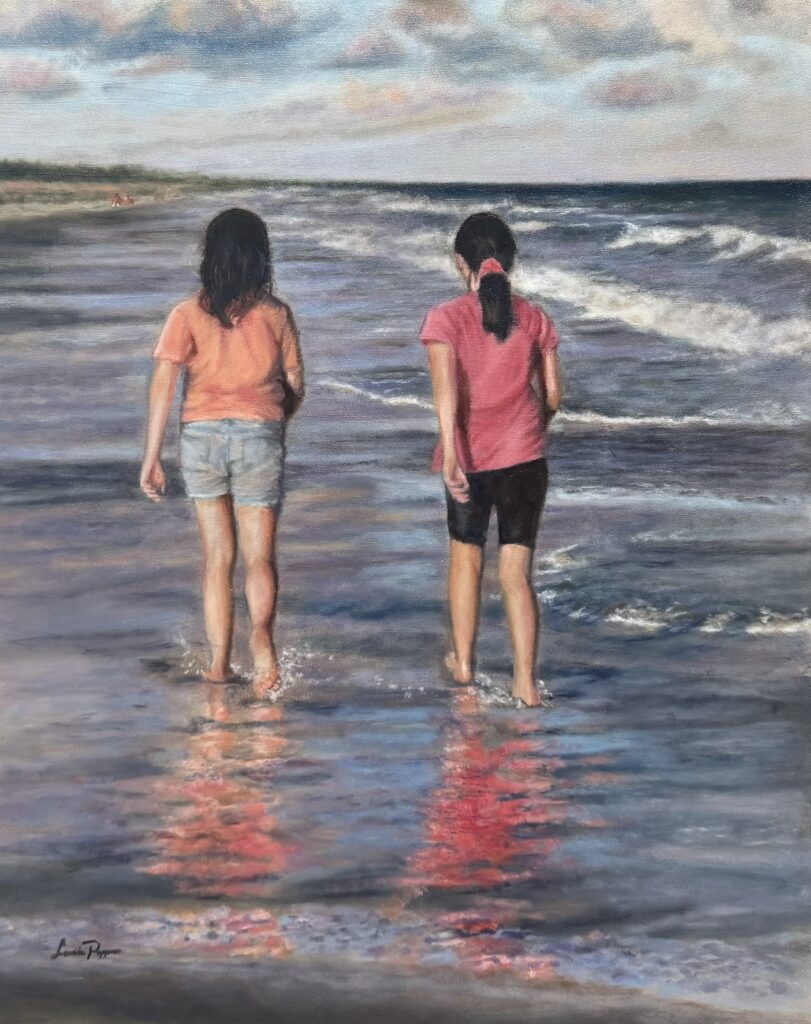
Let’s look at how this painting came to be…
But first, the answer to the most asked question I hear: “How Long Does it Take?!”
The simple and most honest answer is “As long as it takes.” I keep going until I can look at the painting, and nothing bothers me; everything is as it should be. By that point, there is also something else going on that suggests it is nearly done: I move from painting the painting to experiencing the painting. A faint, moist breath as I am painting the tongue or nose of a dog, the softness of skin as I am painting the turn of a face. In the case of this beach painting, first, it was the sounds of waves and birds. But it wasn’t until I could smell the beach that I was confident it was complete.
I know what is really being asked is, “How many hours does it take?” And, of course, that varies. Wildly. But for me, a reasonable estimate is 30 to 40+ actual painting hours for something in the range of 8″ x 8″ or 8″ x 10″. Double that for a larger painting, say 16″ x 20″, plus a few more because the larger ones take more time. Perhaps I’ll get faster with time, but that’s where it is currently. Add the planning time, drying time for paint and varnish, and “sitting” time, where I walk away from the painting and just let it sit (an essential part of the process), and you are easily looking at months. If you want to do the math of an hourly rate, the profit on most paintings falls in the range of less than flipping burgers!
The Process of Painting “Emma and Morgan (At the Beach)”
It all starts with a great photo. This one had it all: crisp details, an interesting subject, and, best of all, color. The bright clothing was fabulous, the sky incredible, and oh, those reflections!
It was decided this would be a 16″ x 20″ painting on a linen board, suitable for framing. (as opposed to a wrapped canvas)
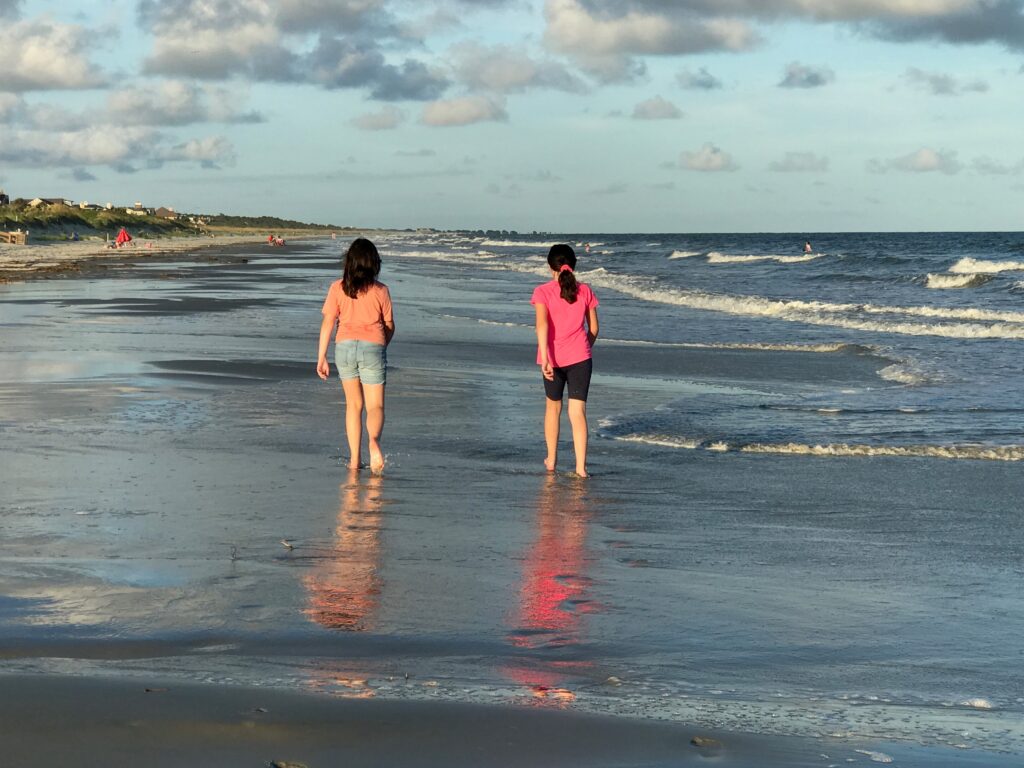
As I studied the photo, brilliant as it was, I saw things that I thought could be improved in the painting. This is one of the many differences between a photo and a painting. Photoshop notwithstanding, as the artist, I can do so much creatively to make a great photo even better.
The first thing I had to decide was between landscape and portrait orientation. I felt the girls should be larger; they were the reason for the painting. They were also too far apart. A portrait orientation would help to address some of these issues.
Composition Fails
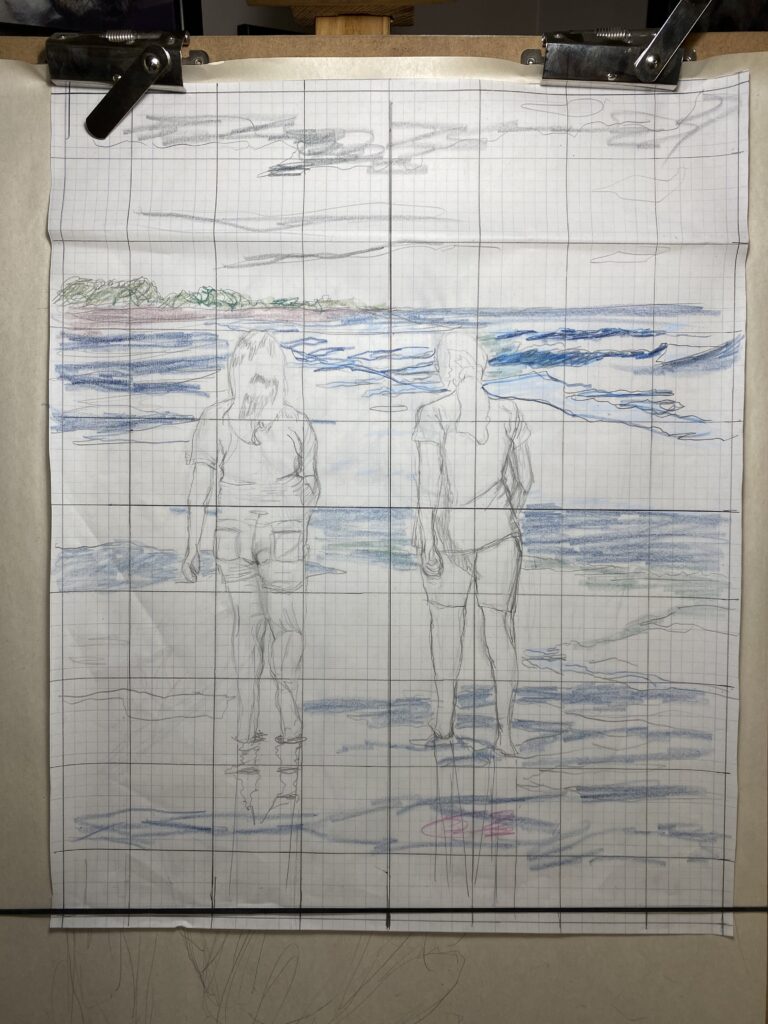
In this preliminary sketch, I emphasized the girls by making them much larger and bringing them closer together. I liked that, but those incredible reflections were off the bottom of the page.
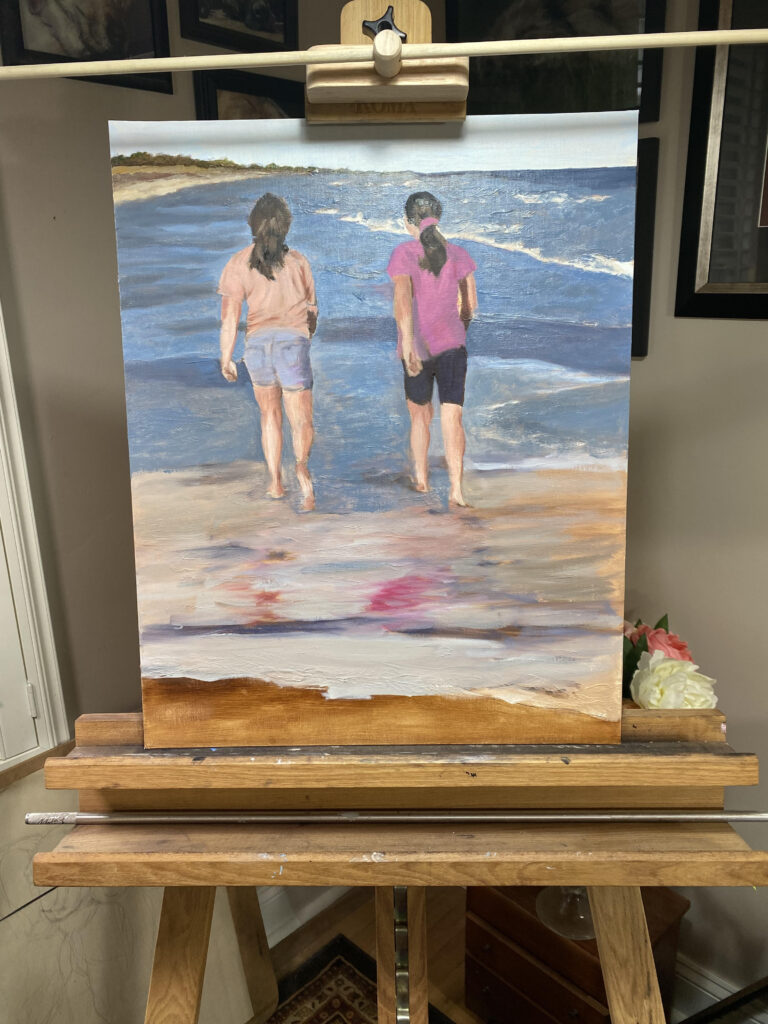
In this one which I sketched and rough painted, I made the girls smaller, cropped the sky (reasoning that the reflections were more important than the sky), and left plenty of room for reflections.
And here is where the value of “letting a painting sit” comes in. I was pretty happy with this and excited to move forward. But life intervened, and time passed before I could return to it.
Good thing. I took one look at it and decided it wasn’t right.
Third time is the charm!
I decided the clouds were too important to cut, so devised a compromise, making the girls smaller and losing some of the length of the reflections, but managing to still get enough of them in to capture the beauty in the original photograph.
Now, it was time to start. Again.
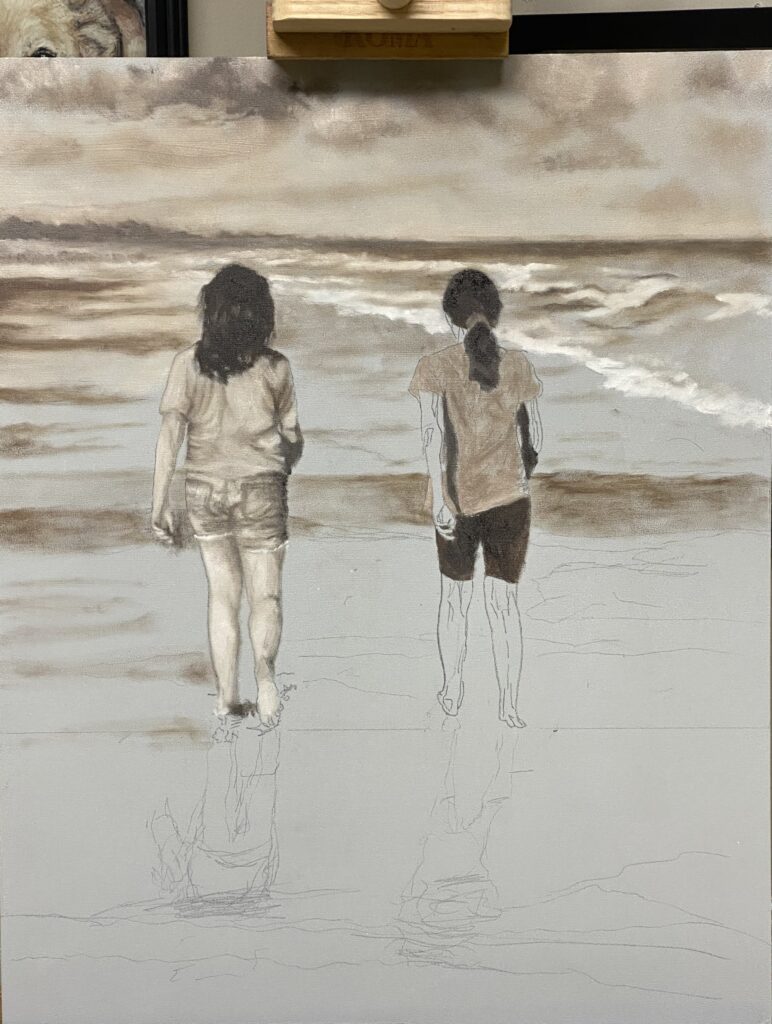
I sketched the piece on gridded paper and then transferred the sketch to the canvas.
Underpainting
Some artists underpaint; some don’t.
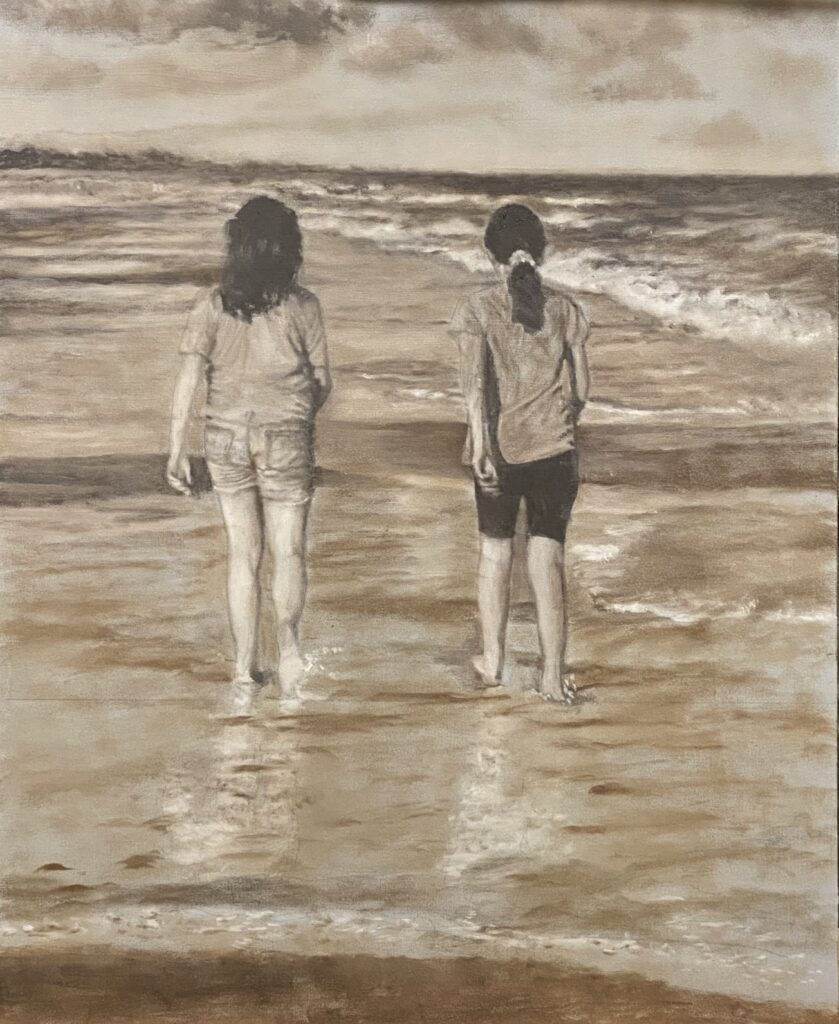
I have tried it both ways and have landed squarely on starting with an underpainting in burnt umber. It gives depth to the finished painting, but more importantly, establishes the direction of the entire painting. It’s the stage where it’s still relatively easy to make changes; when things get on the canvas they don’t always look the way you think they will. I once heard to solve problems as early in the painting as you can, and I agree; doing this step goes a long way toward that.
It’s the point where the image begins to “magically appear;” it’s my first acquaintance with the subject. I will be dating myself, but it reminds me of the old Polaroid photos where the photo appears, first ghostly, then moving towards the finished product. Once having appeared, it gets pretty exciting for me; now the fun begins!
If this is for a commission, after the underpainting is finished, I will review it with the client for approval.
Painting
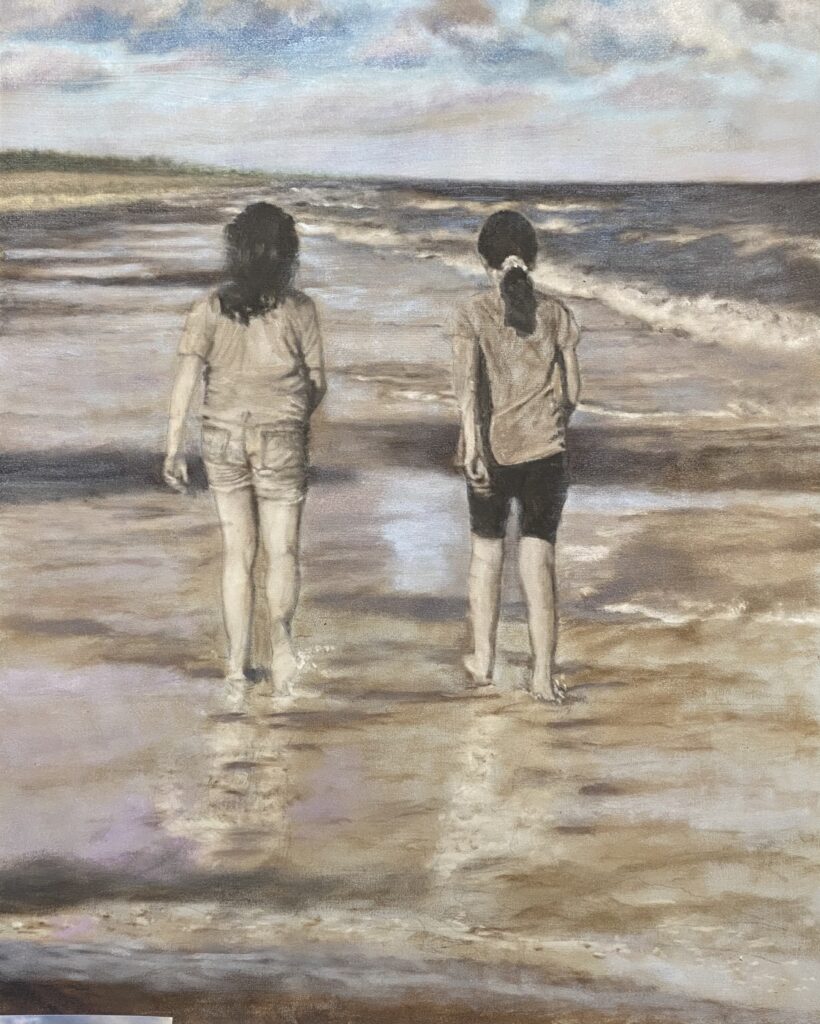
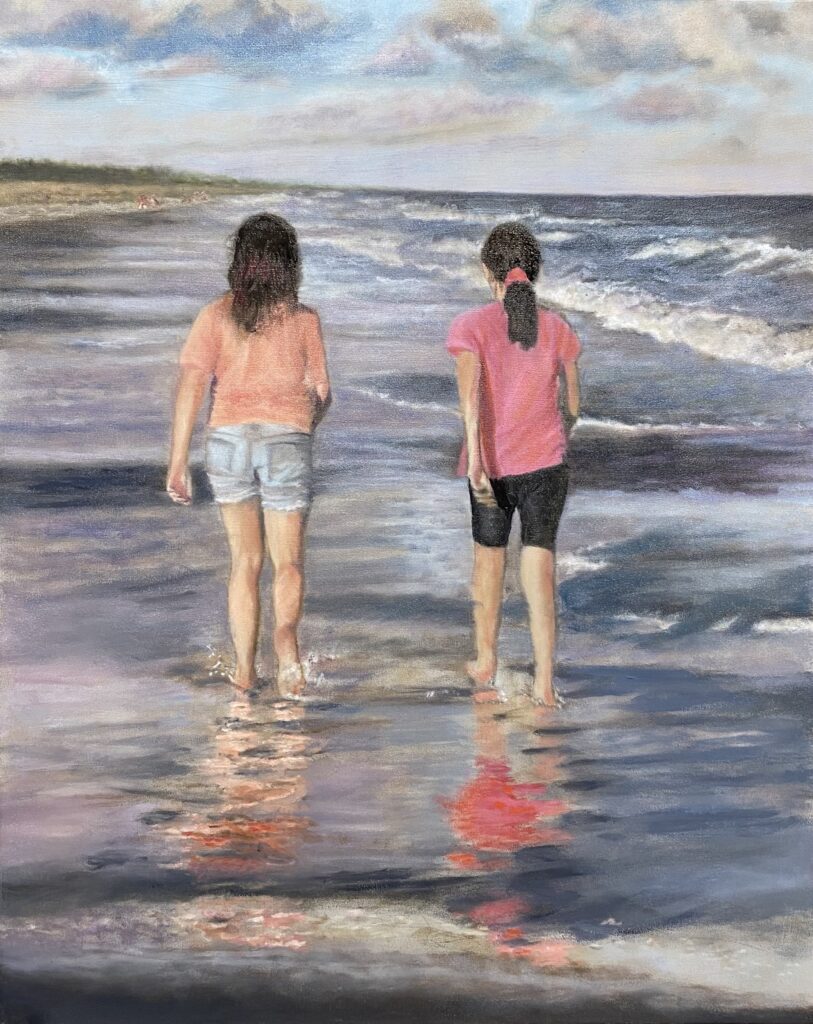
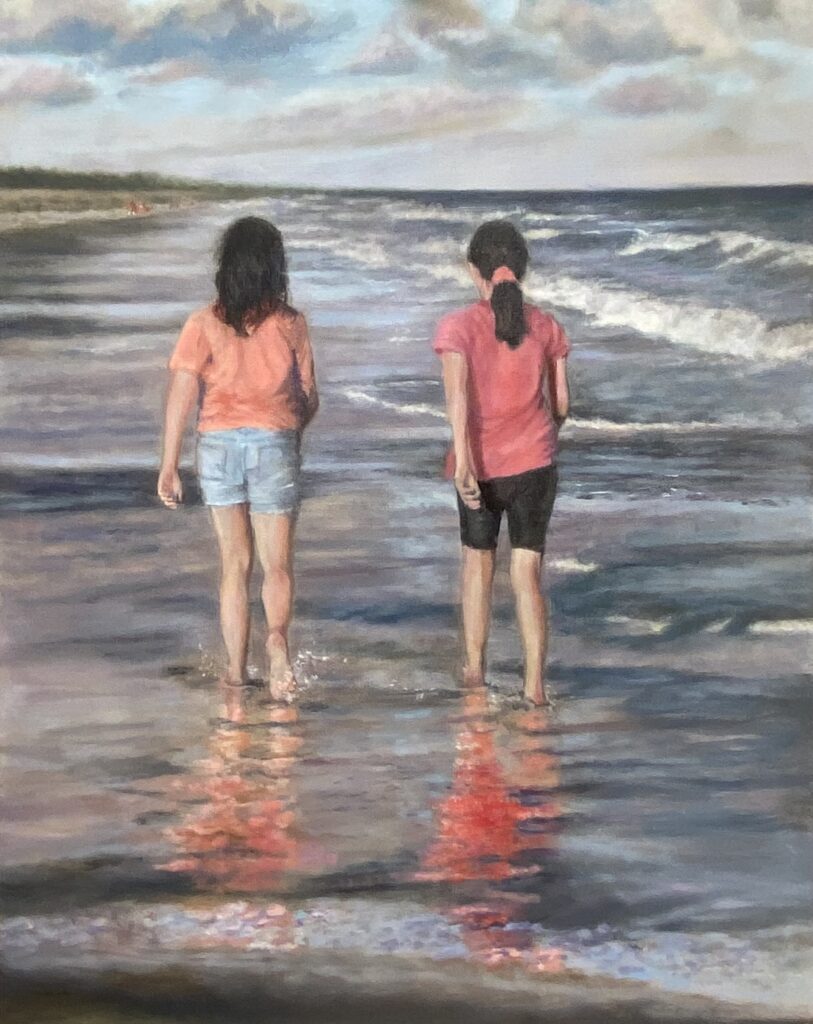

Here you can see the progress of building the color. It’s not only about the individual elements and their colors, it’s about tying the whole painting together, which is why I don’t “finish” one area before moving to another. I also wait until the end to paint details and the lightest highlights.
The Finished Painting

So, back to the initial question: How long did this painting take?
I don’t know. There were stops, starts, mistakes, and redos. And when I painted this, I had over a year of “no painting.” Ultimately, what matters to me is not how long it took, but that the finished painting has captured not only the likeness but the story behind it. In this case, I believe it did.
This painting will hang in a newly built beach house where the family will be making new memories at the ocean, a perfect place to preserve a beautiful memory of a past day at the beach. It was a pleasure to paint!
